Showing posts with label Makeup. Show all posts

Wednesday, June 17, 2015

10 Wonderful Beauty Uses for Q-Tips


1.  Root Touch Up:


- If you don't have time to re-dye your hair, don't worry. You can probably solve your problem with some eyeshadow and a Q-tip. Simply swab an eyeshadow that matches our hair color with a Q-tip and apply to the area to cover any re-growth.

2. DIY Teeth whitener:


- You can make a very simple and cheap teeth whitener by mixing toothpaste, hydrogen peroxide, and baking soda into a paste. Apply it to your teeth with a Q-tip. Wait for 1 minute and then brush your teeth.

3.  Perfume on the go:


-  If you are carrying a small purse and don't have room for a full sized bottle of perfume, that's okay we have you covered. Simply spray the tips of some q-tips with your desired fragrance and place them in a ziplock bag in your purse. Whenever you need to refresh, pull one out, apply, and toss.

4. Eye shadow on the go:


- If you are going to an event or traveling and want to have a quick easy way to reapply your makeup, then here is the tip for you. Roll some Q-tips in your eyeshadow and place in a zip lock bag, and into your purse. Now you are ready for any eyeshadow melt downs.

5. Pimple remover:


- To get rid of a blemish safely and without scaring, first wash your face with warm water. Then apply gentle pressure with a Q-tip on either side and all the contents of the pimple will come out easily. Stop squeezing if you see blood.

6. Lips:


-Use a q-tip to outline your lips with translucent powder. This helps define your lip line.

7. Eyelashes:


-  Dont have a lash curler? When wet gently apply pressure to eyelashes with a Q-tip to curl them into place.

8.  Mascara:


- Use a Q-tip to clean up any mascara messes with ease.

9. Liner:


-Use a Q-tip to clean up your eyeliner for the perfect wing.

10. Lashes:


-Use a Q-tip to apply lash glue to your false lashes with ease.

Monday, June 8, 2015

10 Makeup Tips to Save You Time and Money!


1. Discount stores: 


Like TJ Max/Nordstrom Rack often have high end makeup items on clearance. It's always a good idea to pop over to one of them before heading to Sephora. You never know what incredible deals you can find. 


2. Half It:


Do you always find your self running out at the last minute to buy cotton round or sponges? I know I do. For whatever reason I never can remember I am running low until its too late. You can save some cash and time running out for them, by cutting them in half. This way you double the amount you have on hand. 


3. DIY Lip Plumper:


Adding a few drops of peppermint oil to any lip gloss will give you your desired look, without the high price tag.

4. Sample First:


Perfume can be expensive. Always ask for a tester sample at Sephora or ulta before deciding to open your wallet. This way you can try it for a few days to be sure it will be a good fit. 


5. Shop Online:


Often you can find items on mark down for less then what you can find in the store. So on your next makeup trip, take a photo of everything you want and look it up online. If you are stocking up you can really save some cash. 

6. Keep old mascara wands:


Many mascara formulas are the same, the difference is in the brush. More often then not the high price of the product is based on the brush style. So the next time you run out of your favorite high-end mascara, try using the brush from it in a cheaper mascara. You will get the same effects. 

7. Avoid Eye level:


This tip is an oldie. Sephora, Ulta, and many other retailers put higher priced items at eye level. Often if you look lower you will find an equally good product for less. 

8.Keep Them: 


Keep your old makeup containers and recycle them for another use. I do this with all of my pump bottles as many foundations in the U.S. do not have a pump. 

9. Instaint Eye Lift:


Simply apply a white highlighter or eyeshadow to under your eyebrow. It will give you the look of a lift with ease. 

10.  Downward Strokes: 


If you have lots of peach fuzz or dry skin, always apply your foundation with downward strokes. This will keep flaky skin and peach fuzz laying down and it will not be noticeable. 

Monday, June 1, 2015

Review: NYX Brow Pencil and Jumbo Eye Pencil. Ulta Haul Part 2

Hello all. Today I have part 2 of my Ulta Haul. Since both of these where NYX items I decided to just lump them together in one review. I used both of these today for the first time and I am really happy with them. 


As you can see I bought the brow pencil in Medium Brown. This color has a bit of a auburn tint to it and at first I thought I might not be able to use it. I was scared it was going to look too orange. However, once I had my makeup on, I felt a lot better about it and decided it actually looks more natural then the darker brown brow powder I had been using. 


I adore this Jumbo Eye Pencil. When I put it on today I was worried it may be a little to white to look natural. I used my smudging brush to help lighten it under my eye brows and it really turned out lovely. I was so impressed that I also used it to highlight the corners of my eyes. It worked like a charm. I know it is available in 2 shades of white, I am not sure what the difference in the 2 shades are. I do highly recommend this pencil, as it can be used for so many things. It is great for defining the brow bone and making its look crisp and clean. 


I was surprised when I saw that the tip of  the NYX brow pencil. I have never seen a oblong shaped pencil before, but I have to say it really helps with dispensing an equal amount of product to the brow. It also did not take very long. I did not think to take a close up of the other end of this pencil. It has a brown top with a brow brush on it. The top looks like another lid, there is no extra surprise hidden there, but the brush does a great job as lightening and blending the brow product. So no complainants there. 


When I saw that this was a "Jumbo" stick, for some reason I was picturing one like the huge lip pencils. Its good sized, but I would describe it as a middle man between a regular pencil and a jumbo lip pencil. This formula is very creamy and smooth. It glides on like silk and blends quickly. I did not find it to leave any sharp harsh lines and thought it was very easy to use.


Swatches: So here is what they look like. Please excuse my freckles, or angle kisses as my Momma calls them. I have been spending a lot of time at the ball field. You can see how the white just pops, and it will define your eyes and make them appear wider and more awake. Win! You can find this at Ulta for $4.49 and it is available in 23 colors and has a 4 star rating. The brow pencil complements my skin tone well. It is available in 8 shades, so there is bound to be one to fit your needs. They are $4.99 at Ulta and have a 4 star rating as well.


Here they both are after a little bit of blending. They really both work well. I will probably buy both of these again when I run out. Unless I can find a better deal for equal quality products. I doubt that will ever happen though. 


Review: Pixel Eyeshadow, Ulta Haul Part 1

Hey everyone! As promised, today I am doing review #1 on stuff from my Ulta haul. I got my boxes Friday and was super excited to rip them open and get a look at my goodies. I want to do this review first because these items were the cheapest, and I would like for you all to be able to get a few (if possible) before they sell out. 


As most of you know, I got these babies on a sale so great, it was like I stole them. I walked away with 7 of these and it cost me less then $3.50 for all of them. Since they are singles, I focused on colors I love or that I did not have in other palettes. 


 I have to tell you guys that I am super excited and happy with these eyeshadows. They are very pigmented, blend well, and stay on all day with a primer. For the price you really cannot beat it. They retail for $3.99 each and I paid $0.49 for each one. I will be ordering the rest of them soon.


I do not usually use these types of eyeshadow applicators, but I think these are perfect for trips and quick touch ups. I will be taking a few of these with me on vacation in 3 weeks.  I love how the applicator is used as the lid to the eyeshadow pan. Its nice to know you will always have it when you need it, if you decide to carry it in your purse.  The reviews on Ulta show that this eye shadow has 4 1/2 starts. As I mentioned in my post about their sale, this is not something I usually see on Ulta. Normally I see 3 to 3 1/2 star reviews. Considering this, I decided to give them a try and I am glad I did. 


 Swatch:  I just love these colors. I think that my favorite is Charming, its such a unique and beautiful gold toned color. If you would like to give these a try, and I highly recommend it, you can find them here: Ulta


Wednesday, May 27, 2015

7 Neat Makeup Tips No One Ever Told You


1. Tanning Streaks:


- Is there anything worse? If you find streaks from tanning spray, don't worry. Grab a loofah, wet it, sprinkle it with baking soda and wash the area. This will blend it in perfectly.

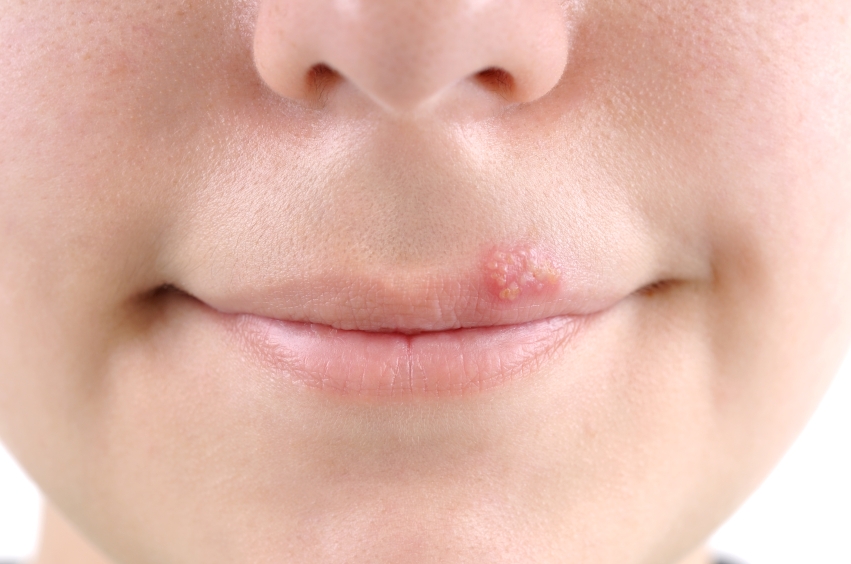
2. Cold sore:


- If you feel a cold sore coming on, dab on some aquaphor or another thick cream. This will keep the cold sore from growing and spreading. You can think of it as smothering the cold sore.

3. DIY Scented lotion:


- If you don't want to pay gobs of money for scented lotion. Buy a cheap bottle of unscented and add 2-3 drops of your favorite perfume to it. This works great.

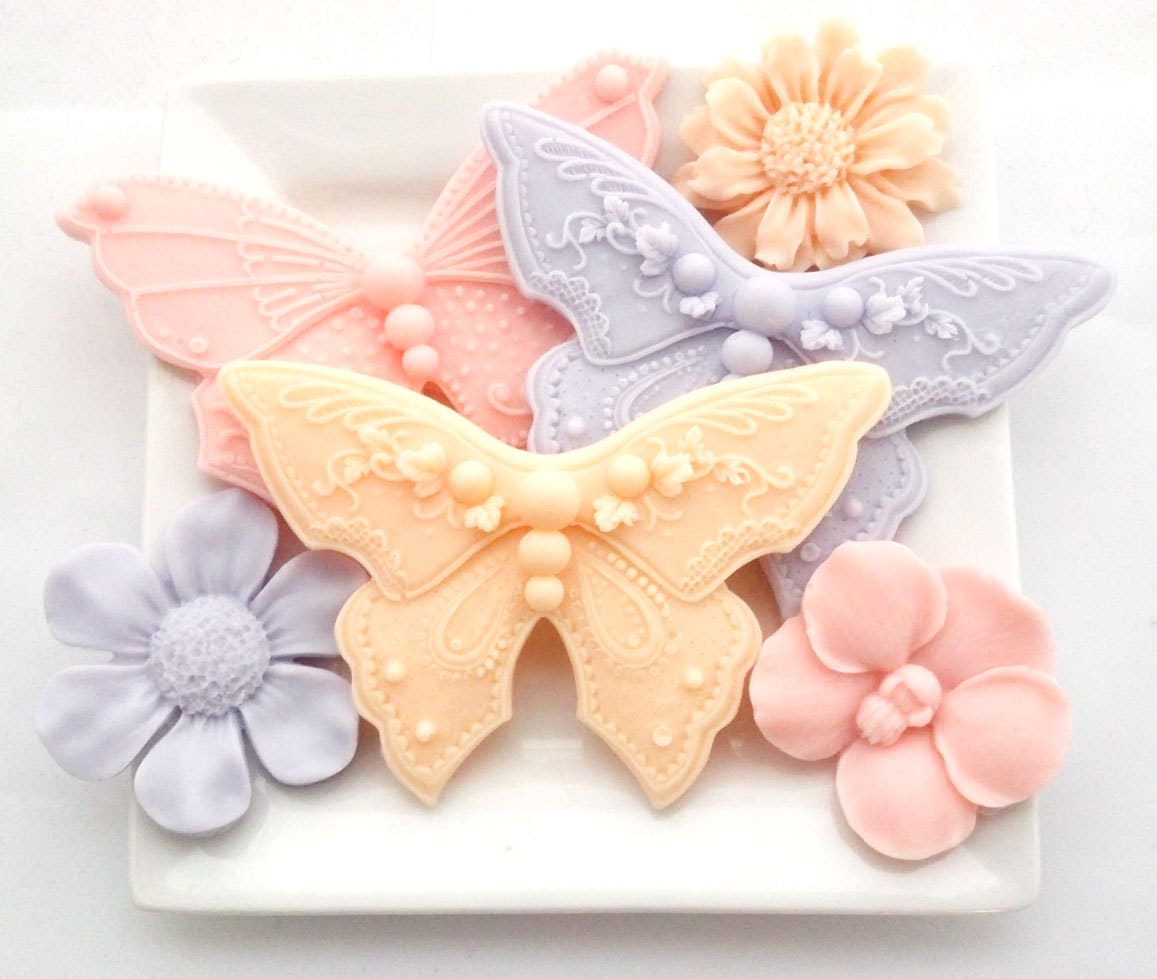
4. Decorative soap: 


- If you have some adorable decorative soap and you can't bring your self to use it, just toss them in your dresser drawers. This will make your clothes smell amazing.

5. Awesome Cheek Bones:


- If you want awesome cheek bones, try contouring with a grey eye shadow. Makeup artists use this trick all the time. Grey more naturally mimics shadows on the face. Just use a little and build it up as needed. 

6. Eye shadow primer:


- If you are out of primer, you can use a dab of concealer or even a pressed powder will keep your shadow from creasing.

7. Redness and irritation:


- If you are having trouble with redness and irritation, try seeping some green tea bags and then applying them to your face. The antioxidants in green tea will soothe irritated skin and remove redness and swelling.

Monday, May 25, 2015

Purple Eyeshadow Tutorial

Hello everyone! Today I was asked if I could do a purple eyeshadow tutorial. Since I had not put my face on yet, and I had a new purple eyeshadow palette I wanted to try; I thought why not. I tried to do a shot of each step but they turned out really bad, since the lighting in my room is so dark. :( I will try to work that out soon before my next eyeshadow tutorial. I ended up having to shoot these in front of my living room window. I am hoping to get a light set soon. 


 The palette I used for this look is the "W7 In The Night Smokey Shades, Eye colour Palette". I can't say enough good things about this company. You cannot find this palette in the U.S. as it is manufactured "Across the pond" in England. This palette is very reasonably priced and you can find it on Amazon.com for $7.00 with FREE shipping. I have a few of these palettes and will go into detail about them in another post. Lets just say I am a Big HUGE fan! These are easy to work with, pigmented, and blend like a dream! I highly recommend them to all my friends, family, and anyone who will sit still long enough for me to gab about them. 


Here are the main colors I used for this look. I did use a few different items and I will list them below.


Here is a swatch of this palette.


Perfectly Purple Eyeshadow Tutorial:

1. I primed my eyes with Urban Decay ($12) eye shadow primer potion.

2. I began by applying "Razzamataz", all over my eye lid from above the crease to the lower lid.

3. After blending it out, I applied "Lady Luck" all over the lower lid.

4. Once I got my lower lid nice and sparkly, I applied "Top Hat" to the outer 3rd section of my lower lid and extended it through my crease.

5. Next, I applied "Dusty" to my brow bone. Once again blending all of it out.

6. Next I used the white shade from my NXY Waiting for Tonight Palette ($ 23.99) on the inner corners of my eyes. I like to extend this under the lower lash line to about the middle of my eye. This helps conceal more of the bluish color on the inner corners. You can find it HERE.

7. With my liner brush, I applied "Razzamataz"  to my lower lash line, about 3/4 of the way from the outside in. Then I used my smudging brush to lighten it up.

8. Next I applied Rimmels white eye liner ($3.47) to my water line. With all these dark colors this also helps my eyes appear bigger. Its a favorite of mine. You can find it HERE.

9. Next I applied Bellapierre's Water Proof Gel Liner in "Ebony" ($14.99) to my upper lash line, from the outer corner to the inner. I applied this sparingly as I wanted to see the pinkish purple of "Lady Luck". I adore this gel liner. You can find it HERE.

10. And last but never least.....Tarte's Lights, Camera, Lashes Mascara.  If you want to find out more about this awesome mascara check out this POST!

Here is the finished look. I think it turned out pretty good for a first attempt. 


The white eyeliner and purple shadows really make my eye color pop. 


On the rest of my face: All of these are linked, just click on the item to view it. 


6. Pacifica blush in the shade "Flushed" from the Solar Complete Color Mineral Palette.

7. NXY Butter Lip Stick in "Hunk". 

8. Urban Decay 24/7 glide on lip pencil in "Ozone". 

9. Elf Makeup Mist and Set Spray.

10. NXY Eyebrow Cake Powder in "Brunette" 

I hope you all enjoy this look as much as I did coming up with it. As always let me know it there is anything else you would like to see :)

Sunday, May 24, 2015

May Glam Bag!

It's that time of the month again. I got my Ipsy Glam Bag in the mail last week and I finally got a chance to try it all out. I know I have been slacking the last few months, but I wanted to go ahead and post this one. I was beyond excited when I got my sneak peek of my bag this month. Early on I was able to get a sneak peek of 5 items and I would receive only one of them. I saw a blending brush in the list and hoped I would get it. Ipsy bags can be a fickle beast. Some months your LOVE them and others you get a few awesome products and a few so so. Occasionally I get something I can't use and I trade it for something else.  


Well when I got my sneak peek, I got more then what I hoped for. I got all the things I wanted, including the blending brush. Here is what I got:


1. Urban Decay 24/7 Glide-on Lip Pencil: 

This thing works like a charm. It matches any lip stick color and you can use it as a liner or a lip primer. It does make my lipstick last hours longer and is comfortable. 4 stars!  
Urban Decay
2. Luxie Rose Blending Brush:

I am very impressed with this brush. It does a wonderful job of blending out my eyeshadow. Its hard to believe, but I honestly feel like it does a better job then my Sigma brush. I am in love with it and highly recommend it. 5 stars!
Luxie Rose

3. Pixi Bronzer: 

To be honest I have 5 bronzers and I really don't need another one. So I traded this one for a 24 hour waterproof gel liner. My mother also got this bronzer and I swatched it, its very pigmented and goes on really smooth. Based on the swatch I will give this 4 Stars! 
Pix!
4. Breakups To Makeup Mini Clutch: 

I was so excited to see this months bag. It is adorable and is my favorite bag from ipsy so far. I will be carrying this for a long time. I think its the perfect statement piece and it fits my personality well. 5 stars! 
Makeup Clutch
5. Briogeo Rosarco Milk:

 This is a reparative leave in conditioner. I used this on my daughter and myself today. It made brushing her hair a lot easier and it makes your hair smell amazing. I wish I could describe the smell, but I can't. It smells natural and refreshing. Not tropical or floral. However I cant see paying $20 just for these reasons when I can buy some from the dollar store for $1. I don't think the sample is big enough to see any reparative results. I used 5 pumps in my daughters hair and 3 in mine and half the sample was gone. So I can't really say if it repairs or not. :( 3 stars! 
Briogeo


6. It Cosmetics CC+: 

I know I am going to make someone mad for saying this so I will go ahead and apologize. I have received 3 samples over the past year from It Cosmetics and I am not impressed with any of them. 
Now maybe its ipsy's fault but I have ivory skin and they always send me an orange color from It Cosmetics. I hate it, I cant use it, and the next time I meet one of the girls walking around with and orange spray on tan, I'm gonna offer them to her. I just cant do anything with it. My biggest problem with it is that even though it is orange it still does not cover any redness or the darkness under my eyes. However, the company claims that it will and it does. I even watched the video tutorial on the It Cosmetics web page as soon as I saw that I was getting it, so I could put it on correctly. Nope still an epic fail. This brand and I are just not compatible and I will not spend hard earned money to try any of it.  1 star! 

It Cosmetics

Well thats all of it I hope you guys enjoyed a view into my glam bag this month. If you would like to give ipsy a try here is there link: Ipsy It's only $10 a month and that includes shipping. Ipsy is a great way to try new products and see what is out there that you will love. I have found many awesome products this way.