Showing posts with label Anti-aging. Show all posts
Showing posts with label Anti-aging. Show all posts
Friday, May 29, 2015
8 Night Time Beauty Hacks
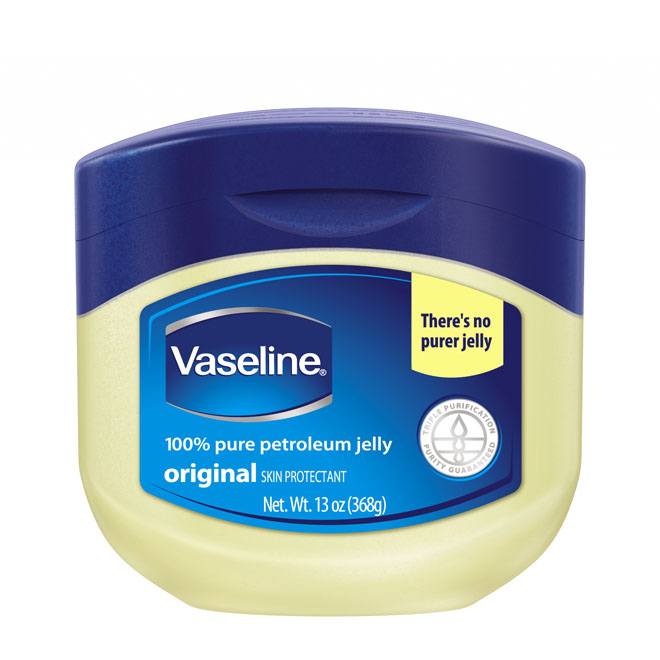
1. Vaseline:
- Apply a coat of Vaseline to your feet before bed. Cover them with socks. You will wake up with softer, smoother feet in the morning.
2. Treating puffy eyes:
- If you have puffy eyes, add an extra pillow under your head at night and sleep on your back. The extra height will help drain the excess liquids from your eyes and you will awaken less puffy.
3. Waves over night:
- Simply braid your hair after a shower and sleep on it. In the morning you will have easy no fuss beach waves.
4. Dry Skin:
- In winter months try sleeping with a humidifier in your room. This will put extra moisture in the air and it will also absorb into your skin.
5. Silk/Satin Pillow Case:
- Treat your self to a silk case because it has many uses. It will prevent wrinkles, bed head, and split ends.
6. Baking Soda:
- Whiten your teeth at bed time by brushing your teeth with baking soda. It will work to fight stains over night. Do not eat or drink for an hour after this. That's Why I recommend night time.
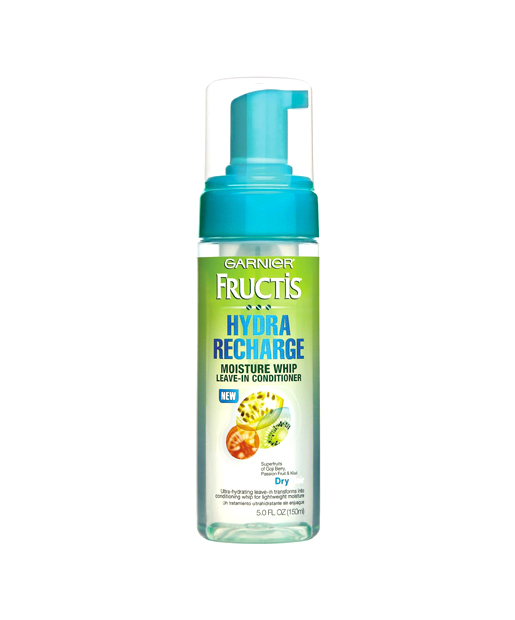
7. Leave in conditioner:
- Applying one before bed will give you extra moisture through the night.
8. Softer hands:
- Apply lotion at night and wear gloves to bed. This will give you super soft hands over night.
Thursday, May 7, 2015
Oil Cleansing
Oil cleansing is a method of removing dirt and grime from your face without the use of harsh chemicals. It can be used on any skin type, even oily. This little trick can do wonders for your skin and will keep your skin glowing.
Here's how:
1. Cover your face in olive oil. Massage gently into your skin.
2. Soak wash cloth in hot water. You need it to be very hot, but only as hot as you can handle. Please don't over heat your cloth and burn yourself.
3. Apply the hot cloth to your face for 15 minutes. I like to lay down and just relax for a few during this step.
4. Then remove all the oil with your cloth.
After a few times you will notice that you can barely push on areas of your skin that have black heads and they will easily just pop right on out. Just be sure to do this once after your 15 minutes of heat.
Thursday, April 9, 2015
Cheap and Easy Summer Soothing Face Masks
Summers right on our heels and will soon be wrecking havoc on our faces. To help with this here are a few mask you can wear to help heal and soothe your skin.
Cucumber Mask:
Cucumbers contain Silica in its juice. Silica not only improves the health of your skin but also your complexion. Cucumber juice helps balance your skin, keeps it moisturized, and soothes reddened skin. Just add 2 Tbsp of cucumber juice and mix it with rice flour to thicken. Apply and allow to dry. Wash off with cool water and pat dry.
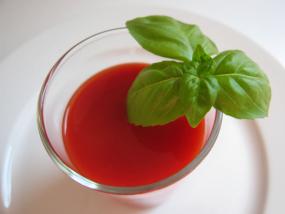
Tomato Mask:
Tomato's are also high in antioxidants. These help soothe sunburn, rashes, and acne. Tomato juice will also restore your natural glow. Apply 2 tablespoons to tomato juice to your face, let dry, and wash with cool water.
Oatmeal Mask:
Oatmeal is a great anti-inflammatory. It soothes dry, itchy, irritated skin. Oatmeal also is wonderful for acne, it absorbs excess oils in your skin, without drying it out. Mix 1/2 cup hot water with 1/3 cup of oatmeal. Let sit for 1-2 minutes. Add 2 table spoons of plain yogurt and mix. Apply to face for 10-15 minutes, then rinse with warm water.
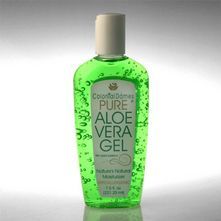
Aloe Vera Mask:
Aloe Vera Gel lightens skin tone and soothes sunburn. It puts a protective layer on your skin to replenish and moisturize dry sun damaged skin. Apply to your face for 10 minutes, wash off with cool water.
Watermelon Mask:
Water Melon is full of Vitamin C & A. Since Water Melon is mostly composed of water, it acts to re-hydrate your skin ad give is a radiant glow. Clean your face, then apply Water Melon juice with a cotton ball. Let sit for 15 minutes and rinse with cool water.
Reminder: Don't miss out on our Makeup Giveaway. We have 9 great items for 1 lucky person to win! Please click on the image below to check out how to enter. Its super easy :)
Cucumber Mask:
 |
| demandstudios.com |
Cucumbers contain Silica in its juice. Silica not only improves the health of your skin but also your complexion. Cucumber juice helps balance your skin, keeps it moisturized, and soothes reddened skin. Just add 2 Tbsp of cucumber juice and mix it with rice flour to thicken. Apply and allow to dry. Wash off with cool water and pat dry.
Tomato Mask:
 |
| cf.ltkcdn.net |
Tomato's are also high in antioxidants. These help soothe sunburn, rashes, and acne. Tomato juice will also restore your natural glow. Apply 2 tablespoons to tomato juice to your face, let dry, and wash with cool water.
Oatmeal Mask:
 |
| natural-homeremedies-for-life.com |
Oatmeal is a great anti-inflammatory. It soothes dry, itchy, irritated skin. Oatmeal also is wonderful for acne, it absorbs excess oils in your skin, without drying it out. Mix 1/2 cup hot water with 1/3 cup of oatmeal. Let sit for 1-2 minutes. Add 2 table spoons of plain yogurt and mix. Apply to face for 10-15 minutes, then rinse with warm water.
Aloe Vera Mask:
 |
| tumblr.com |
Aloe Vera Gel lightens skin tone and soothes sunburn. It puts a protective layer on your skin to replenish and moisturize dry sun damaged skin. Apply to your face for 10 minutes, wash off with cool water.
Watermelon Mask:
 |
| www.maangchi.com |
Water Melon is full of Vitamin C & A. Since Water Melon is mostly composed of water, it acts to re-hydrate your skin ad give is a radiant glow. Clean your face, then apply Water Melon juice with a cotton ball. Let sit for 15 minutes and rinse with cool water.
Reminder: Don't miss out on our Makeup Giveaway. We have 9 great items for 1 lucky person to win! Please click on the image below to check out how to enter. Its super easy :)
Labels:
Anti-aging,
DIY,
Moisturizer,
Skin care,
Treatment,
Tutorial
Tuesday, March 31, 2015
DIY: Treating Sun Spots Naturally
Hey everyone! I have another DIY for you today. This is a special request from one of our readers. If any of you want to see something in particular, just leave me a comment below or on Facebook.
Age Spots are an annoyance for many people. Age spots are also called Liver spots, Sun spots, or Lentigines. They are generally caused by repeated sun damage to the skins surface, but can also be caused by impaired liver function or nutritional deficiencies.
Age Spots appear on the skin as flat, yellow or brown discolorations and are usually harmless. The are most commonly seen in people over the age of 40.
Here are a 4 ways to treat these at home:
1. Pour 1 Tbsp of Lemon Juice into a small bowl.
2. Add 1/2 tsp of granulated sugar to the bowl and whisk together.
3. Once combined, dab a cotton ball into the mixture and apply to your sun spots.
4. Allow to sit for 10 minutes.
5. Rinse with cool water, pat dry with a towel, and apply a moisturizer.
Apple Cider Vinegar and Onion:
1. Finally chop 1 small onion. Use a strainer or cheese cloth to push out the juices from the onion.
2. Place in a small bowl with with and equal amount of Apple Cider Vinegar. Mix.
3. Dab on skin with cotton ball. Leave on for at least 30 minutes.
Castor Oil:
1. Simply rub Castor oil onto the age spots in the morning and at night.
Aloe Vera Gel:
1. Simply rub onto area twice daily.
Reminder: Don't miss out on our Makeup Giveaway. We have 9 great items for 1 lucky person to win! Please click on the image below to check out how to enter. Its super easy :)
Age Spots are an annoyance for many people. Age spots are also called Liver spots, Sun spots, or Lentigines. They are generally caused by repeated sun damage to the skins surface, but can also be caused by impaired liver function or nutritional deficiencies.
Age Spots appear on the skin as flat, yellow or brown discolorations and are usually harmless. The are most commonly seen in people over the age of 40.
Here are a 4 ways to treat these at home:
Lemon Sugar Scrub
 |
| Gethelponline.org |
Things You'll Need:
- Lemon juice
- White granulated sugar
- Small bowl
- Cotton ball
- Cool water
- Soft towel
1. Pour 1 Tbsp of Lemon Juice into a small bowl.
2. Add 1/2 tsp of granulated sugar to the bowl and whisk together.
3. Once combined, dab a cotton ball into the mixture and apply to your sun spots.
4. Allow to sit for 10 minutes.
5. Rinse with cool water, pat dry with a towel, and apply a moisturizer.
- Repeat once a week until sun spots fade.
- The acid in the lemon will fade the spot while the sugar exfoliates the skin.
Apple Cider Vinegar and Onion:
 |
| beautywingman.com |
1. Finally chop 1 small onion. Use a strainer or cheese cloth to push out the juices from the onion.
2. Place in a small bowl with with and equal amount of Apple Cider Vinegar. Mix.
3. Dab on skin with cotton ball. Leave on for at least 30 minutes.
- Repeat daily until sun spot is gone.
Castor Oil:
 |
| Phrophro.com |
1. Simply rub Castor oil onto the age spots in the morning and at night.
- Spots should be greatly improved in 1 month.
Aloe Vera Gel:
 |
| errormark.com |
1. Simply rub onto area twice daily.
- Improvements should be seen in 1 month.
Reminder: Don't miss out on our Makeup Giveaway. We have 9 great items for 1 lucky person to win! Please click on the image below to check out how to enter. Its super easy :)
Monday, March 30, 2015
DIY: Sugar Hand Scrub
I have seen this bouncing around Pinterest for a while now and decided to give it a try. I am getting closer to 30 and want to make sure I am taking proper care of my skin, so I am trying a few new things. Like the tips from my post DIY for Younger Looking Hands found HERE!
2. First put your sugar in your container and add the Dawn.
Reminder: Don't miss out on our Makeup Giveaway. We have 9 great items for 1 lucky person to win! Please click on the image below to check out how to enter. Its super easy :)
Lets jump right into it.
What you need:
- Dawn with Olay Hand Renewal.
- Small container
- Sugar
I got the Dawn and the container from the Dollar Tree for $1 each.
1. You need to have 2/3 parts sugar to 1/3 parts of Dawn hand renewal dish soap.
- I used 1 cup of sugar and 1/2 a cup of Dawn.
2. First put your sugar in your container and add the Dawn.
3. Then just mix it all together.
4. Feel free to add more sugar or Dawn until you get the consistency that you want. I like mine on the thicker side so I added another 1/4 cup of sugar.
5. As you can see the sugar really dulled down the color. Since this is Cucumber Melon scented (One of my all time favorites), I wanted to maintain the color. To do this I added 1 drop of food color. This is completely optional. It will not stain your hands. If you follow our facebook page then you know I love me some color. :)
My Impression:
I couldn't wait so I dove right into trying this as soon as I had it stirred up. I feel like it does a pretty good job. My hands feel a lot softer and smoother. The only thing I feel that it is missing is a moisturizer. I think I will try and see if I can add some vitamin E oil or coco butter to it. If I can wash it off and feel super moisturized I will be excited. However I suppose moisture and soap just may not go very well, but I'll give it a go any way.
Thursday, March 26, 2015
DIY for Younger Looking Hands.
Hey everyone! Today we are gonna tangle dry hands. One of my viewers reached out and asked me to see if I could find a remedy for helping make hands look younger. After some research I came up with this. I hope it helps. Also, if there is anything specific you guys would like to see just leave a comment down below.
Reminder: Don't miss out on our Makeup Giveaway. We have 9 great items for 1 lucky person to win! Please click on the image below to check out how to enter. Its super easy :)
What ages our hands?
Our hands are always exposed to the elements. Because of this they often give away our age before anything else. There are many reasons our hands age, the biggest is sun damage. Over exposure to sun light and chemicals (bleach, dish soap, cleaning sprays) , cause severe drying of the skin on our hands. This can also lead to dark spots, wrinkles, and prominent veins.
The way to battle aging hands is to develop a good skin care regimen and stick to it. This will help maintain the hands fullness and thickness better over time.
What age should I start?
The answer is now! It does not matter if you are 22 or 42. Our hands begin to look aged in our late 20's however most women do not notice visibly until they are in their 40's. Because of this many will not treat them until their 40's.
Photo: Starblaze.com
By starting a regimen early you will be able to better prepare your hands to look younger longer. As you can see in the image above Madonnas hands give away her age, while facial plastic surgery has helped to maintain her youthful appearance.
Madonna is not the only one to make this oversight. I, along with most women often do not pay attention to my hands until they are all ready dry. Then I coat up with moisturizer and forget them until the next time they bother me.
Here is what you'll need:
1. Sunscreen
2. Retinol Cream
3. Moisturizer
4. Cotton gloves
1. Wear sunscreen:
Apply to your hands daily. The sun is responsible for more then 90% of the damage your skin will have, especially wrinkles. This is really important for when you are driving. Try to pick up a small bottle on sale to keep in your car.
Photo: Uh.edu
2. Exfoliate:
Use a hand scrub at least twice a week to exfoliate your hands. This will remove the dead layer of skin on top and make your skin glow.
Photo: Crafthubs.com
- You can make your own hand scrub by combining sugar and lemon juice. I would stay away from salt as it is drying to the skin.
3. Wear Gloves:
Always wear rubber gloves when cleaning. Over time the chemicals will do a number on your hands. Even when you are just washing the dishes. Dish washing liquid is very hard on the skin and keeping your nails in water for prolonged amounts of time, will cause them to become brittle.
Photo: Popsugar.com
4. Moisturize and Retinol:
This is the most important part. You need to use a heavy moisturizer on your hands nightly along with a retinol cream. Cover this with a pair of cotton gloves and go to sleep. Remove in the morning and rub any remaining lotion into your hands.
Through out the day apply lotion after washing your hands. If they are really dried out, try using a bit of vitamin E oil.
Photo:eletunk.com
And that's it. If you incorporate these steps into your daily routine your hands will age slower and look younger longer. Try to remember that your hands are just as important as your face.
Friday, March 6, 2015
Get Rid Of Dry Skin Fast!
Hello Beauties! This winter has been so hectic on my skin. This is the first winter to do this and I have spent weeks figuring out the best way to handle my dry skin. I am not sure if its due to the crazy winter we are having this year or if its because I'm sneaking up on 30 (Yikes!). Whatever the reason, I have found my solution in a few easy to find, easy to afford options. Yay me!
I also found that some things just did not work for me. I tried moisturizers. I mean, I was using facial moisturizer 3 times a day on my dry areas. While the areas would become softer and appear much better, the moment I applied my foundation it looked like I had skin colored scabs all over my face. Yuck! Moisturizer was just not getting it done. So I bought a facial exfoliating scrub. All this did was make my dry skin more noticeable. I mean the flakes just stood on end more. Total fail.
Finally after days 2 weeks with no solution in sight I was able to find a solution that saved my face:
1. EVOO (Extra Virgin Olive Oil):
I started to apply EVOO every night after my bath. I used this instead of my store bought moisturizers. I simply put it in a soap dispenser bottle (Dollar tree $1) and pump out 2 squirts on a cotton disposable face pad and applied it to my face. After this I do my facial massage and go about the rest of my evening. At first it can be a little heavy on the face however after my facial massage I find that it is absorbed really well.
My skin is so much smoother, has less breakouts, and any discoloration from my acne scars are fading. I know it sounds insane that applying oil can make you have less breakouts, but trust me this works. Olive oil is absorbed into the pores and actually fights the bacteria in the pore, thus equaling fewer breakouts. WIN!
Here's a special tidbit: I put 2 parts EVOO and 1 part Castor oil in my pump and use this nightly. Castor oil has tightening properties and will help strengthen the skin and decrease elasticity.
2. Microfiber Facial Scrubber ($1 at the dollare tree):
You can get these little beauties in a 3 pack at the Dollar Tree. I use this only when I have a bunch of dry skin on my forehead and nose. I allow my face to steam in the shower/bath for around 5 minutes, then I apply soap on the textured side of the sponge. The one with the little holes and lines. I then apply it to my face and buff lightly all over, concentrating a bit longer on my flaky areas. I do this for about a minute. Just use your best judgement here. It should not hurt and your face should not be noticeably reddened after. Then I get out, dry off, dress, and apply my EVOO.
I cannot say enough how much this has helped out my skin. I was seriously going days without makeup and moisturizing around the clock and I still had tons of dry skin on my forehead and nose. My skin glows now, its very soft, I have less breakouts, and I have ZERO dry skin patches. I hope you find these tips helpful and that your skin love it too.
As a reminder I will be posting more DIY make up organizers soon! Be sure to check back and look for them :)
Subscribe to:
Posts (Atom)


