Today I am going to answer some age old questions concerning makeup. All of us have had these same questions at one time or another. So this if for my makeup newbies. 1. Is it ever okay to sleep in my make up?
- No its not a good idea. Makeup will clog your pores and make your skin oily if you sleep with it on. Always try to remember to wash your face before bed, if you cant do that then reach for a makeup wipe or wet wipe. 2. Is it okay to wash my hair everyday?
-Its not going to hurt you, but it can damage your hair. When you wash your hair shampoo strips the natural oils in your hair. This can lead to dry and damaged hair. It is ideal to wash your hair ever 3 days and dry shampoo in between. 3. How often should I wash my makeup bushes?
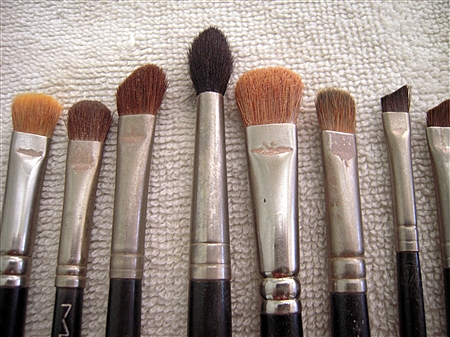
- Many people wash their brushes 1x a week, however experts say that washing them 1x a month is fine. You should not go longer then 1 a month though as dust, dirt, and germ, can build up on them and be transfer to your face. This can cause breakouts. I recommend baby shampoo to wash brushes safely, gently, and effectively. 4. Is it okay to pump my mascara?
- Goodness we have all been there, what fun it is to pump away at our mascara; but unfortunately no its not okay. When mascara is pumped it puts excess air into the tube and it is sealed inside. This air will dry out your mascara very quickly. Avoid pumping your mascara, I roll my wand around the inside to make sure its good and coated. 6. Is it okay to keep my lip stick after having a cold?
- Yes its perfectly fine to keep your lip stick after a cold. By then your body has developed and immunity to whatever it was that was making you sick and you are indeedly over it. There's no reason to throw out your favorite lip color. :) 7. Do I have to wash my face every day?
- You wont get arrested if you don't, but your face will love you if you do! Its a good idea to clean your face daily as this removes dead skin cells and revives your skin, especially if you wear makeup daily. If you don't have time, grab a makeup wipe or wet wipe.
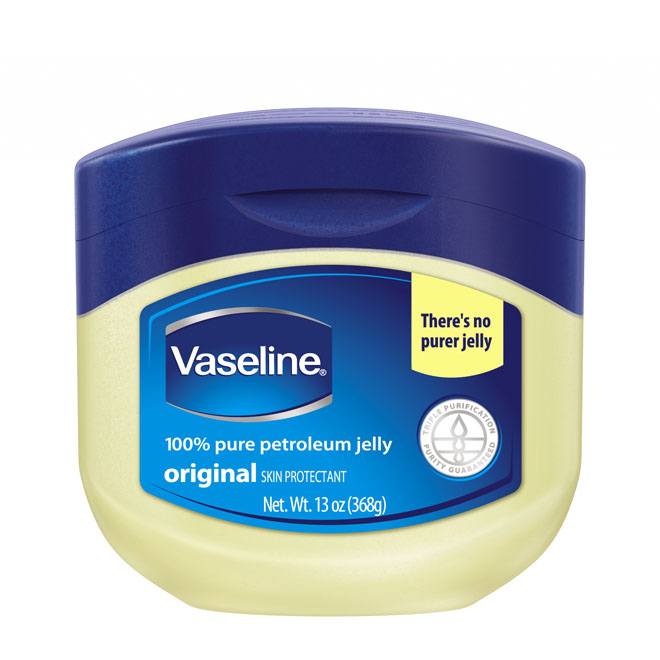
- Apply a coat of Vaseline to your feet before bed. Cover them with socks. You will wake up with softer, smoother feet in the morning. 2. Treating puffy eyes:
- If you have puffy eyes, add an extra pillow under your head at night and sleep on your back. The extra height will help drain the excess liquids from your eyes and you will awaken less puffy. 3. Waves over night:
- Simply braid your hair after a shower and sleep on it. In the morning you will have easy no fuss beach waves. 4. Dry Skin:
- In winter months try sleeping with a humidifier in your room. This will put extra moisture in the air and it will also absorb into your skin. 5. Silk/Satin Pillow Case:
- Treat your self to a silk case because it has many uses. It will prevent wrinkles, bed head, and split ends. 6. Baking Soda:
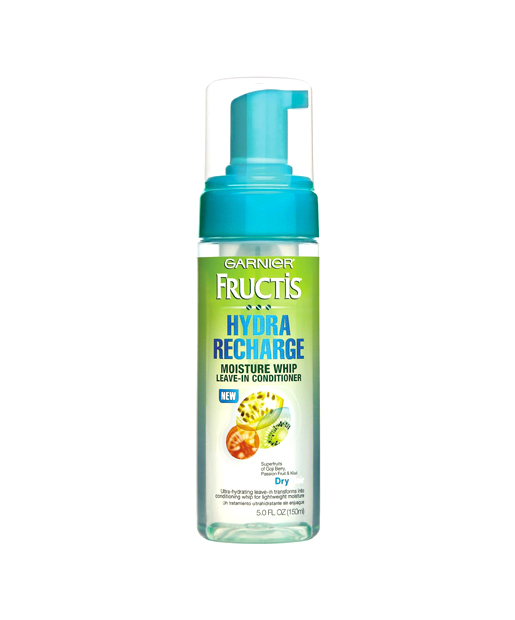
- Whiten your teeth at bed time by brushing your teeth with baking soda. It will work to fight stains over night. Do not eat or drink for an hour after this. That's Why I recommend night time. 7. Leave in conditioner:
- Applying one before bed will give you extra moisture through the night. 8. Softer hands:
- Apply lotion at night and wear gloves to bed. This will give you super soft hands over night.
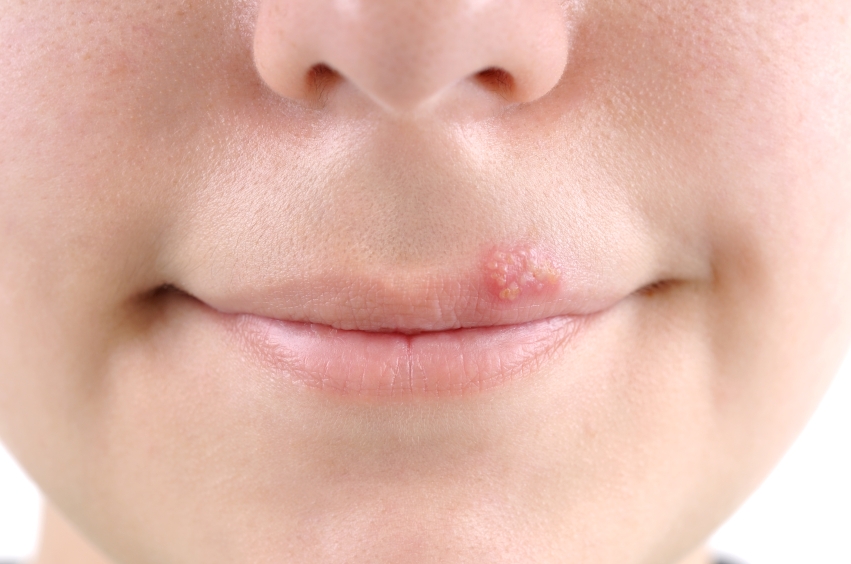
- Is there anything worse? If you find streaks from tanning spray, don't worry. Grab a loofah, wet it, sprinkle it with baking soda and wash the area. This will blend it in perfectly. 2. Cold sore:
- If you feel a cold sore coming on, dab on some aquaphor or another thick cream. This will keep the cold sore from growing and spreading. You can think of it as smothering the cold sore. 3. DIY Scented lotion:
- If you don't want to pay gobs of money for scented lotion. Buy a cheap bottle of unscented and add 2-3 drops of your favorite perfume to it. This works great. 4. Decorative soap:
- If you have some adorable decorative soap and you can't bring your self to use it, just toss them in your dresser drawers. This will make your clothes smell amazing. 5. Awesome Cheek Bones:
- If you want awesome cheek bones, try contouring with a grey eye shadow. Makeup artists use this trick all the time. Grey more naturally mimics shadows on the face. Just use a little and build it up as needed. 6. Eye shadow primer:
- If you are out of primer, you can use a dab of concealer or even a pressed powder will keep your shadow from creasing. 7. Redness and irritation:
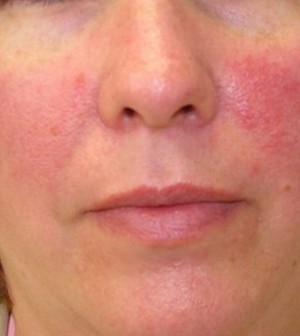
- If you are having trouble with redness and irritation, try seeping some green tea bags and then applying them to your face. The antioxidants in green tea will soothe irritated skin and remove redness and swelling.
1. The best way to remove excess oil from your skin in hot summer months is by using blotting papers. They remove oil from the skins surface leading to fewer breakouts.
2. When selecting a new foundation, swatch it on your neck under your jawline. Pick the shade that matches your skin tone the best, and you will be good to go. Never test your foundation on your hand, it receives a different amount of sunlight then your face. It will not give you the look you want.
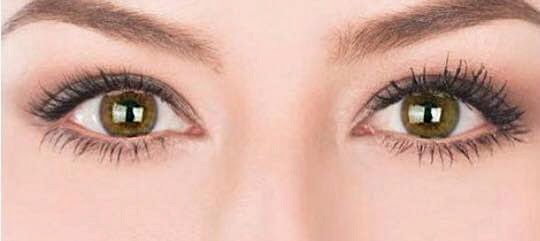
3. You can use a light exfoliate daily. Be sure to pick on that is easy on the skin and use it lightly. Exfoliation will remove dead skin cells from the face, leaving you smooth and glowing. 4. Using a flesh colored liner in your waterline will make your eyes appear bigger and brighter.
5. Apply concealer to under eye circles after applying your foundation for better coverage. 6. Apply products to the delicate skin under your eye with your ring finger. It is the weakest and will apply less pressure. 7. Use a darker shade of concealer to cover up under eye bags. Darker colors recede, meaning they make the bags look smaller.
8. Use colors that are similar like light brown and dark brown on your eyes to create dimension.
10. Rub an ice cube over puffy eyes in the morning to reduce swelling. 11. Red heads should use natural eye tones that wont compete with their hair color. 12. Always keep summer makeup minimal. Sheer makeup will stay on better. Try a BB cream instead of full coverage foundation.
13. Use excess eye cream on your cuticles. The more hydrated they are the stronger your nails will be. 14. To keep hair color from fading in the summer, apply conditioning treatments every other week.
15. If you have on shimmery eye shadow, use a matte lipstick to even it out. 16. Wear white eyeliner to make eye redness fade.
17. You can use red lipstick as a stain. Simply apply it then blot it off. 18. Clean makeup brushes 1 a week to fight bacteria that may lead to pimples. 19. Not using eye liner on the inner 3rd portion of your eye will make your eyes appear bigger.
20. Always apply a moisturizer before your foundation, if you have dry flaky skin. If not foundation will slide under the flakes making them more noticeable. You should also exfoliate 2x a week.
Don't worry we have all been there. Every person you see online with fabulous looking makeup, have all started at the same place. For each of us our concerns vary. What colors look best on me? I love this lip color but can I pull it off? How do I get my brows to look like that? Well the simple answer to all of these questions is honestly its just trial and error. Its a good idea to search around and learn a little more about your skin tone and eye color. If you need help with your skin tone you can check out my blog post HERE on how to find the perfect lip shade, as it will direct you to your proper skin tone. If you have Brown eyes like I do, you can also check out my post on eyeshadows for brown eyes HERE. Today I am going to go over the basics, so you will feel more comfortable trying things out.
1.Reign it in:
The most important makeup tip I can give is to not go crazy. I know when first starting out you may be tempted to go for some insane colors or even put on a bit too much foundation. The key to great makeup, is to keep it as simple as possible. Don't cover what you don't need too and don't apply more then is necessary to get the job done. I usually focus on one area for my dramatics. If I want to have bright red lips, then I keep my eye area more natural toned. If I want dramatic eyes, I pull out a nude lip stick. Its not going to look good if you have dramatic eyes and lips at the same time. It will make your makeup appear to busy and not show your attributes, as they will be lost in the mix.
2. Don't Rush:
I can put on a full complete look with contouring and lashes in around 40 minutes. Yep, that doesn't sound fast at all! But trust me as you delve deeper into the magic of makeup you will see what I mean. That's pretty quick, but for an every day look, I spend about 20 minutes. Makeup takes time, that's all there is to it. Moisturizer, Primer, and Foundation all take time to sink into the skin. This means that you have to let them dry before moving onto the next step, it can take up to 15 minutes for all 3. So just make sure you have enough time before you need to get to where your going. Mistakes happen all the time and the surest way to avoid or fix them is to have a few extra minutes.
3. Build up to it:
Don't expect to pull off a flawless look the first time. Try different makeup products one day at a time. This way you can see the difference in your everyday look and decide if its the look you want or not. This allows you to judge it on a product to product bases.
4. Be Prepared:
Be ready and willing to accept that accidents will happen. It will never fail you, as soon as your about done, you will get distracted and blob your mascara all over your lid. Make sure you have your q-tips close by and be prepared to do damage duty.
5. Have Faith in Yourself:
If you can't trust me, trust Ryan!
You need to have faith in your ability. With time and patience you will be able to pull off the hardest makeup looks. Never think that you can't do it. I promise you can. As I said before none of us were born knowing how to do our make up and all of us had to learn. How long it takes is just a guessing game, some of us started playing with make up early and others not until after high school. Over time you will learn how well an eyeshadow blends and how much to add to get the desired look.
6. Youtube:
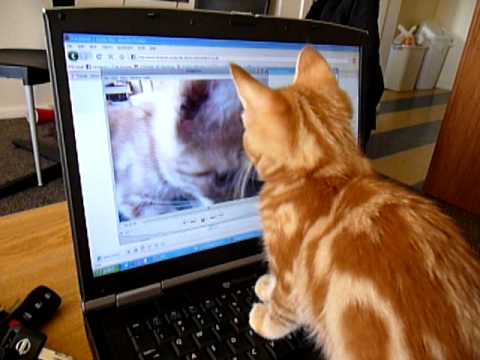
You tube videos will be your ultimate road companion during this trip. You can find videos on everything. From how to use foundation to applying mascara. You can pretty much figure out how much of a product to use to get your desired look and most youtubers will tell you how they feel that product does. If you have a question about anything concerning makeup, you can bet there is already a video about it. Youtube is the best tool you can have when learning a new makeup routine weather you are new to makeup or not.
I hope these tips will help any of you who are new to makeup. If there is anything you would like to see a post about, please leave me a comment below and I will get to it asap. Also if you enjoy my blog please follow me by clicking the follow button above my picture. This way you will see all my posts and also help my blog to grow. Thank you!
Now before I go I'll leave you with some awesome starter videos by my favorites on youtube:
1. Stephanie Lange - Flawless Foundation Routine:
2. Wayne Gross- Natural Everyday/Work Makeup Look:
3. Wayne Gross- How to Winged Eyeliner Made Super Easy!
Nothing is more annoying then finding a nice big blemish on your face in the morning. I swear sometimes its like they pop up like magic. You go to bed and your face is flawless, then the next morning, a pimple ninja came, like a thief in the night, to give you a beautiful gift. Grrr.
Usually this happens the day you have something big going on or right when mother nature decides to give you your monthly visit. Here is how you show mother nature you can deal. 1. Use a primer. This will give your makeup something to hold onto when trying to cover an oily blemish.
2. Try to cover your blemish with foundation. Apply as you normally would. If you can still see the redness from your blemish move on to the next step.
3. Apply concealer. Do not use your finger for this step. Your finger will heat up the concealer and make it too soft to apply correctly. Use a concealer brush to help you get into all of the little nook and cranny's.
4. Cover with a translucent mattifying powder. This will set everything in place while providing additional oil control.
Some of you might already know this tip, but I know I have some readers that are new to makeup. So if you're new then this is for you. Lets start with the very basics:
Photo: Maybelline.com
*This by far is my favorite brand of concealer!!!
- When picking your concealer be sure to pick a shade that is 1 or 2 shades lighter then your skin tone. - The only exception to the rule is when you have a blemish. In that case you should use a shade that matches your tone for the best coverage. Also you will apply concealer to a blemish after you use your foundation so you want it to match your foundation. - Most women will need a yellow based concealer for the best coverage. Not pink. The exception to the rule is people with dark skin, they will need an orange based concealer. - Always test your concealer under your ear on your neck. Again, you are looking for a shade that is 1-2 shades lighter then your own. Okay now that you have the basics, lets move on to applying it:
- This is probably the most important part.
- You need to apply your concealer in a upside down triangle under your eye. This extends the color to your cheek bone, giving you a more natural look.
-If you apply it just under your eye, you will only draw attention to your under eye area because the concealer will act like a highlighter.
- Also you want to apply under eye concealer BEFORE you apply your foundation. This will also give you more natural look.
- Don't be afraid to try it out. I know you will love the difference.
Reminder: Don't miss out on our Makeup Giveaway. We have 9 great items for 1 lucky person to win! Please click on the image below to check out how to enter. Its super easy :)
Red lipstick is a classic staple in beauty. It draws attention and makes us all feel a little sexy. Sometimes though applying red lipstick can be tricky. Its very easy to smudge it and they you have to start all over. Here are a few tips to get your lips red quickly and with no mess ups.
1. Start with a primer. Primer will help your lipstick adhere well and will also give it a smooth finish.
2. Carefully apply lipstick making sure to keep inside your natural lip line.
3. Refine by carefully using a lip brush to blend the color.
4. Apply a little liner around the outside rim of your lips to provide a more finished look
5. I like to cover my lips with a tissue and blot with powder to maintain my color for a longer amount of time.
Strolling through Pinterest I found this neat tutorial. Its how to apply eyeliner as a shadow. This is perfect for a quick look or if your not home and need makeup quickly.
Here is how to create this look:
1. Apply black liner to your lash line.
2. Above the black liner, apply green liner and continue all over your eye lid.
3. Smudge and blend out the liner until you get it to look the way you want.
4. Line your lower lash line with green liner also.
5. Tight line your water line with black liner.
6. Apply your favorite black mascara to finish the look.
Today I have a quick trick for you. It's an easy fast way to get bigger and bolder lashes fast. The best part is its using stuff most of us have in our homes already.
What you will need:
-Mascara
-Lash curler
-Cotton Swab
-Face Powder
1. Start off with curing your lashes.
2. Then apply a thin coat of mascara to your lashes.
3. Next take your Cotton swab and apply a small amount of powder to it.
4. Then apply a light coasting over the mascara before it dries.
5. Now apply a second coat of mascara and your done.
You can really see the difference it makes in the length and thickness of the lashes. When I do this I usually only add powder to the top lashes. My bottom lashes touch my face and I end up with it smeared all under my eye. Not so sexy! ha. You can use pressed powder to do this however, for me I find it works best with loose powder.
If you like this, check back soon as I will be making a DIY for growing thicker, longer lashes.